How to use a mathematical compass
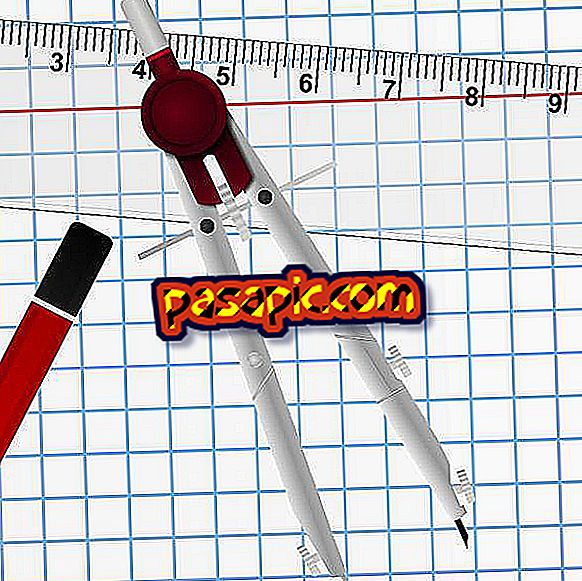
A mathematical compass is a device that is used to draw circles and perfect arcs. A compass is usually made of metal or plastic and is characterized by having two arms that are fixed by an adjustable joint to form a V. One of the arms has a needle point at the end of it, while the other is attached to a Clamp holding a drawing utensil, usually a wooden pencil.
Steps to follow:one
Loosen the clamp on one of the two arms of the compass and insert the pencil or a drawing tool so that its tip faces in the opposite direction to the hinge that connects the arms.
two
Place the needle on the table and adjust the pencil until the needle and the tip of your drawing utensil touch the table at the same time. You may have to readjust the pencil later as you change the radius of your circle or arc.
3
Tighten the clamp until the pencil is in place.
4
Set the length of your radio by pressing the compass two arms farther away from each other or pressing them closer together. Most compasses have a built-in indicator that tells you the exact length your radio has set at any given time. For older versions of the compass, get a ruler and measure the distance between the needle and the tip of your drawing tool to determine the radius that the compass has set. The radius you choose will depend on the size of the arc or circle you want to draw, based on the math problem you are working on.
5
Press the needle to the table once more, and adjust your drawing utensil if you no longer touch the table. If you are drawing a circle, the needle should always be where you want the center of your circle to be.
6
Hold the knob at the top of the compass and slowly turn the compass while holding the needle in place. Continue rotating the compass until you have drawn a complete circle or until you have completed any arc size you wish to achieve.
Tips- Be careful not to prick yourself with the needle point of the compass. This is of particular interest when using a metal compass.